Your Cart is Empty
$9.95 Shipping | Free over $200 | Afterpay Available
- Rainbows
-
All Keepsakes
- Boxes (Keepsake, Treasure, Tooth Fairy, Seasonal)
- Handpainted Surfboards
- Art Displays
- Birthday Calendars
- Rainbows
- Affirmation Boards
- Name Plaques & Announcement Plaques
- Birth Rulers & Memorial plaques
- Milestone Cards
- First Birthday Boards
- Albums/Scrapbooks
- Books
- Blankets & Swaddles
- Artwork Prints
- Back to School
- Home Décor
- Gift Ideas
- Baby Play
- Bundles
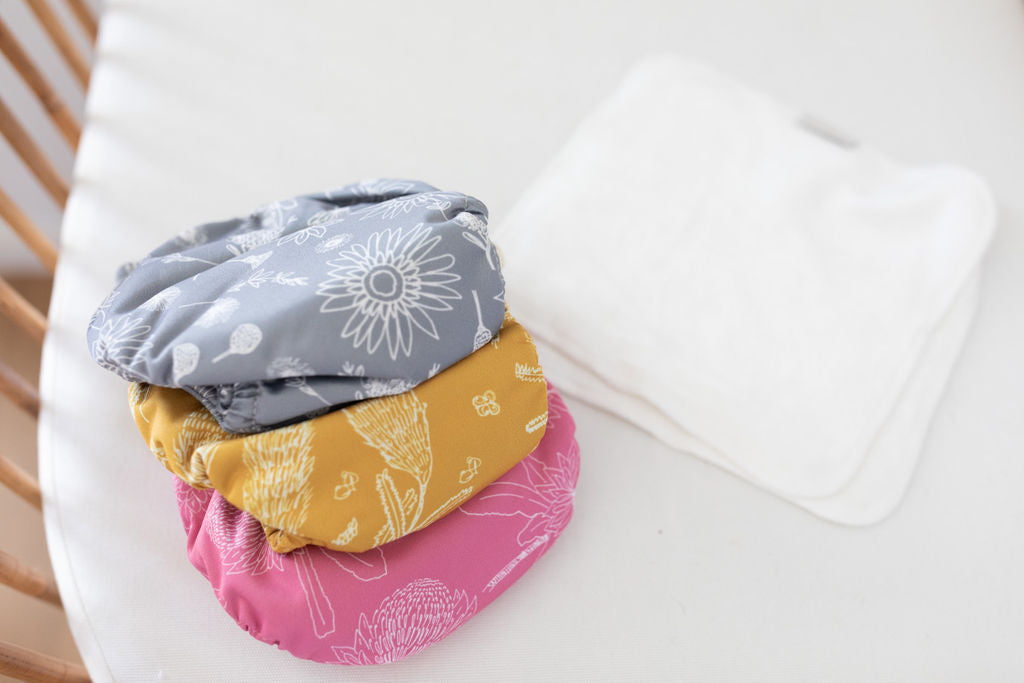
- Cloth Nappies
- Clearance
- Shop All
- Login